Scanning Manager
Video
In this video, Darren Hawkins, MSTA, will take you through the Scanning Manager and how to use it can be used to identify any signal using the Optuma Scripting Language. You can access the Optuma 101 course here to help you get up and running and using Optuma to its full potential.
Overview
The Optuma Scanning Manager has been designed as an instrument to save you time. Where in the past there was a need to manually look over charts, Optuma has automated the process for you.
To open the Scanning Manager window, select it from under the Searches menu button (or use the keyboard shortcut Alt+S).
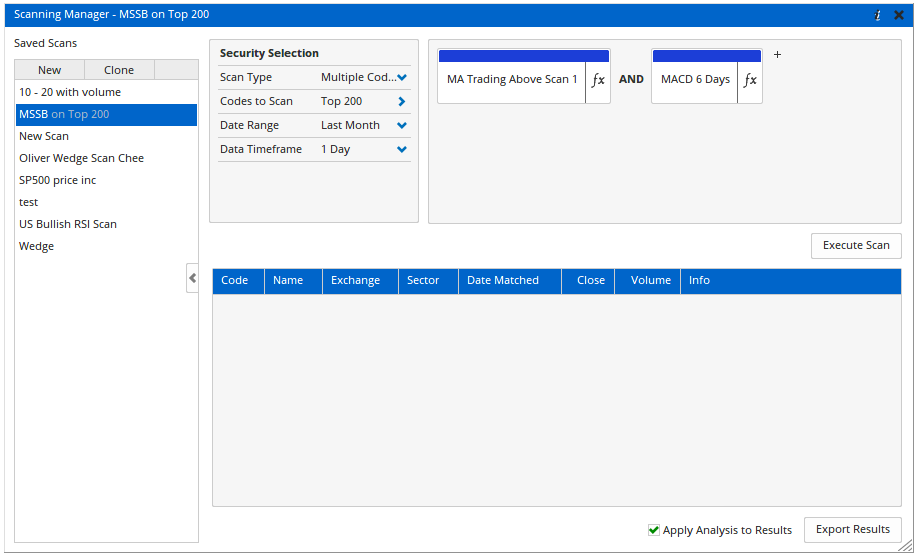
Simply enter in your scan criteria, the data you want to scan and the date at which the criteria needs to be met, and Optuma does the rest.
The Scanning Manager can be broken up into the following section:
Saved Scans
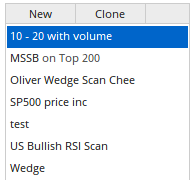
The Saved Scans section lists all previously created / saved scans.
From this window, you can select an existing scan, setup a new scan using the New button, or delete an existing scan.
Security Selection

The Security Selection allows you to perform your scan on either a single security or on multiple securities.
- Scan Type - Select either a single security to perform your scan or multiple codes.
- Code to Scan - Left-click this field to display the security selection to select the desired code. If the Scan Type is set to Multiple Codes then this will provide access to the Data Selector. The Data Selector is broken into 3 tabs: Exchanges, Workbooks and Favourites.
Exchanges display all the data folders you have access to. You can scan entire exchanges, or, expand down to just a few specific folders. Next to each folder in the Exchanges tab is a star icon. Clicking this star icon will mark the folder or exchanges as a favourite selection, adding it to the Favourites tab.
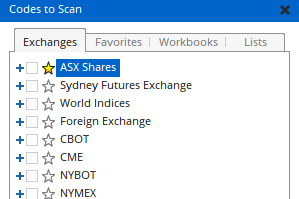
You can also scan just the codes contained within a saved workbook.
Date Range Selection
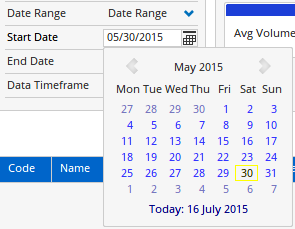
The Date Range selector lets you set the time span the selected scan will search. As an example, setting the time frame to Last Week has the Scanning Manager search the last 7 days of price activity. Any code which meets the selected criteria over any of these 7 days will display as a positive result. The following date range options are available:
- Everything
- Last Bar
- Yesterday
- Last Week
- Last Fortnight
- Last Month
- Last Quarter
- Last Year
- Last 5 Years
- Last 10 Years
- Year To Date
- Date Range
- Selected Date
Date Range gives you the ability to select a specific Start and End date for the scan to cover.
Data Timeframe Selection
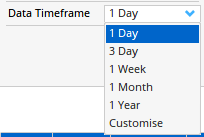
The Time Frame selector lets you nominate the time frame or period of the data that you are executing the scan on. The following time frame options are available:
- 1-Day
- 3-Day
- 1-Week
- 1-Month
- 1-Year
- Customise
For example, if you want to do a moving average crossover scan using a 2-week bar, then you will select Customise. This will display a separate window that will enable you to add customised time frames.
Scan Criteria
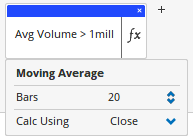
The Scan Criteria window will display the criteria the selected scan will search for. The criteria will be listed by name, left-clicking on the scan will display the parameters which can be adjusted accordingly.
From this window, you can add or remove criteria to the selected scan. For more information, please click here.
Results Window
The Results Window will display the results of the latest scan which has been run across the selected data files. When a scan is completed, the results will be displayed in a table (Code, Name, Date passed, etc).

From this window, you can view a chart for any of the results or even delete a code from the Results list.
Export Results
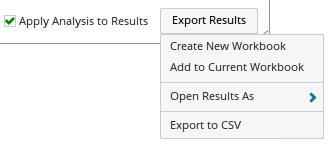
The Export Results button will allow you to export the results of your scan in various formats; you can either create a completely new workbook, add the results to a current workbook, Create a new Watchlist, Create a new WatchTiles or export the results to a CSV file.
If the Apply Analysis to Results option is ticked then your charts will display with the indicators that you have used in your scan.